I realized the other day that my first exposure to carbonation – the little carbon dioxide bubbles found in soda — came so early in life that I couldn’t possibly remember it. My kids will eventually say the same thing. Despite warning parents that sugary drinks are unhealthy, doctors still recommend fizzy ginger ale to settle kids’ upset stomachs, and no one’s likely to give up Pepsi, Coke, or Red Bull any time soon.
But carbonation isn’t just for sodas. It’s also the bubble power behind beer and champagne, as well as some avant garde culinary tricks that are both surprising and compelling. This week’s edition of Kitchen Tech looks at three different and affordable ways to bring carbonation to your drinks — and food (!) — at home.
A Little Background on Carbonation
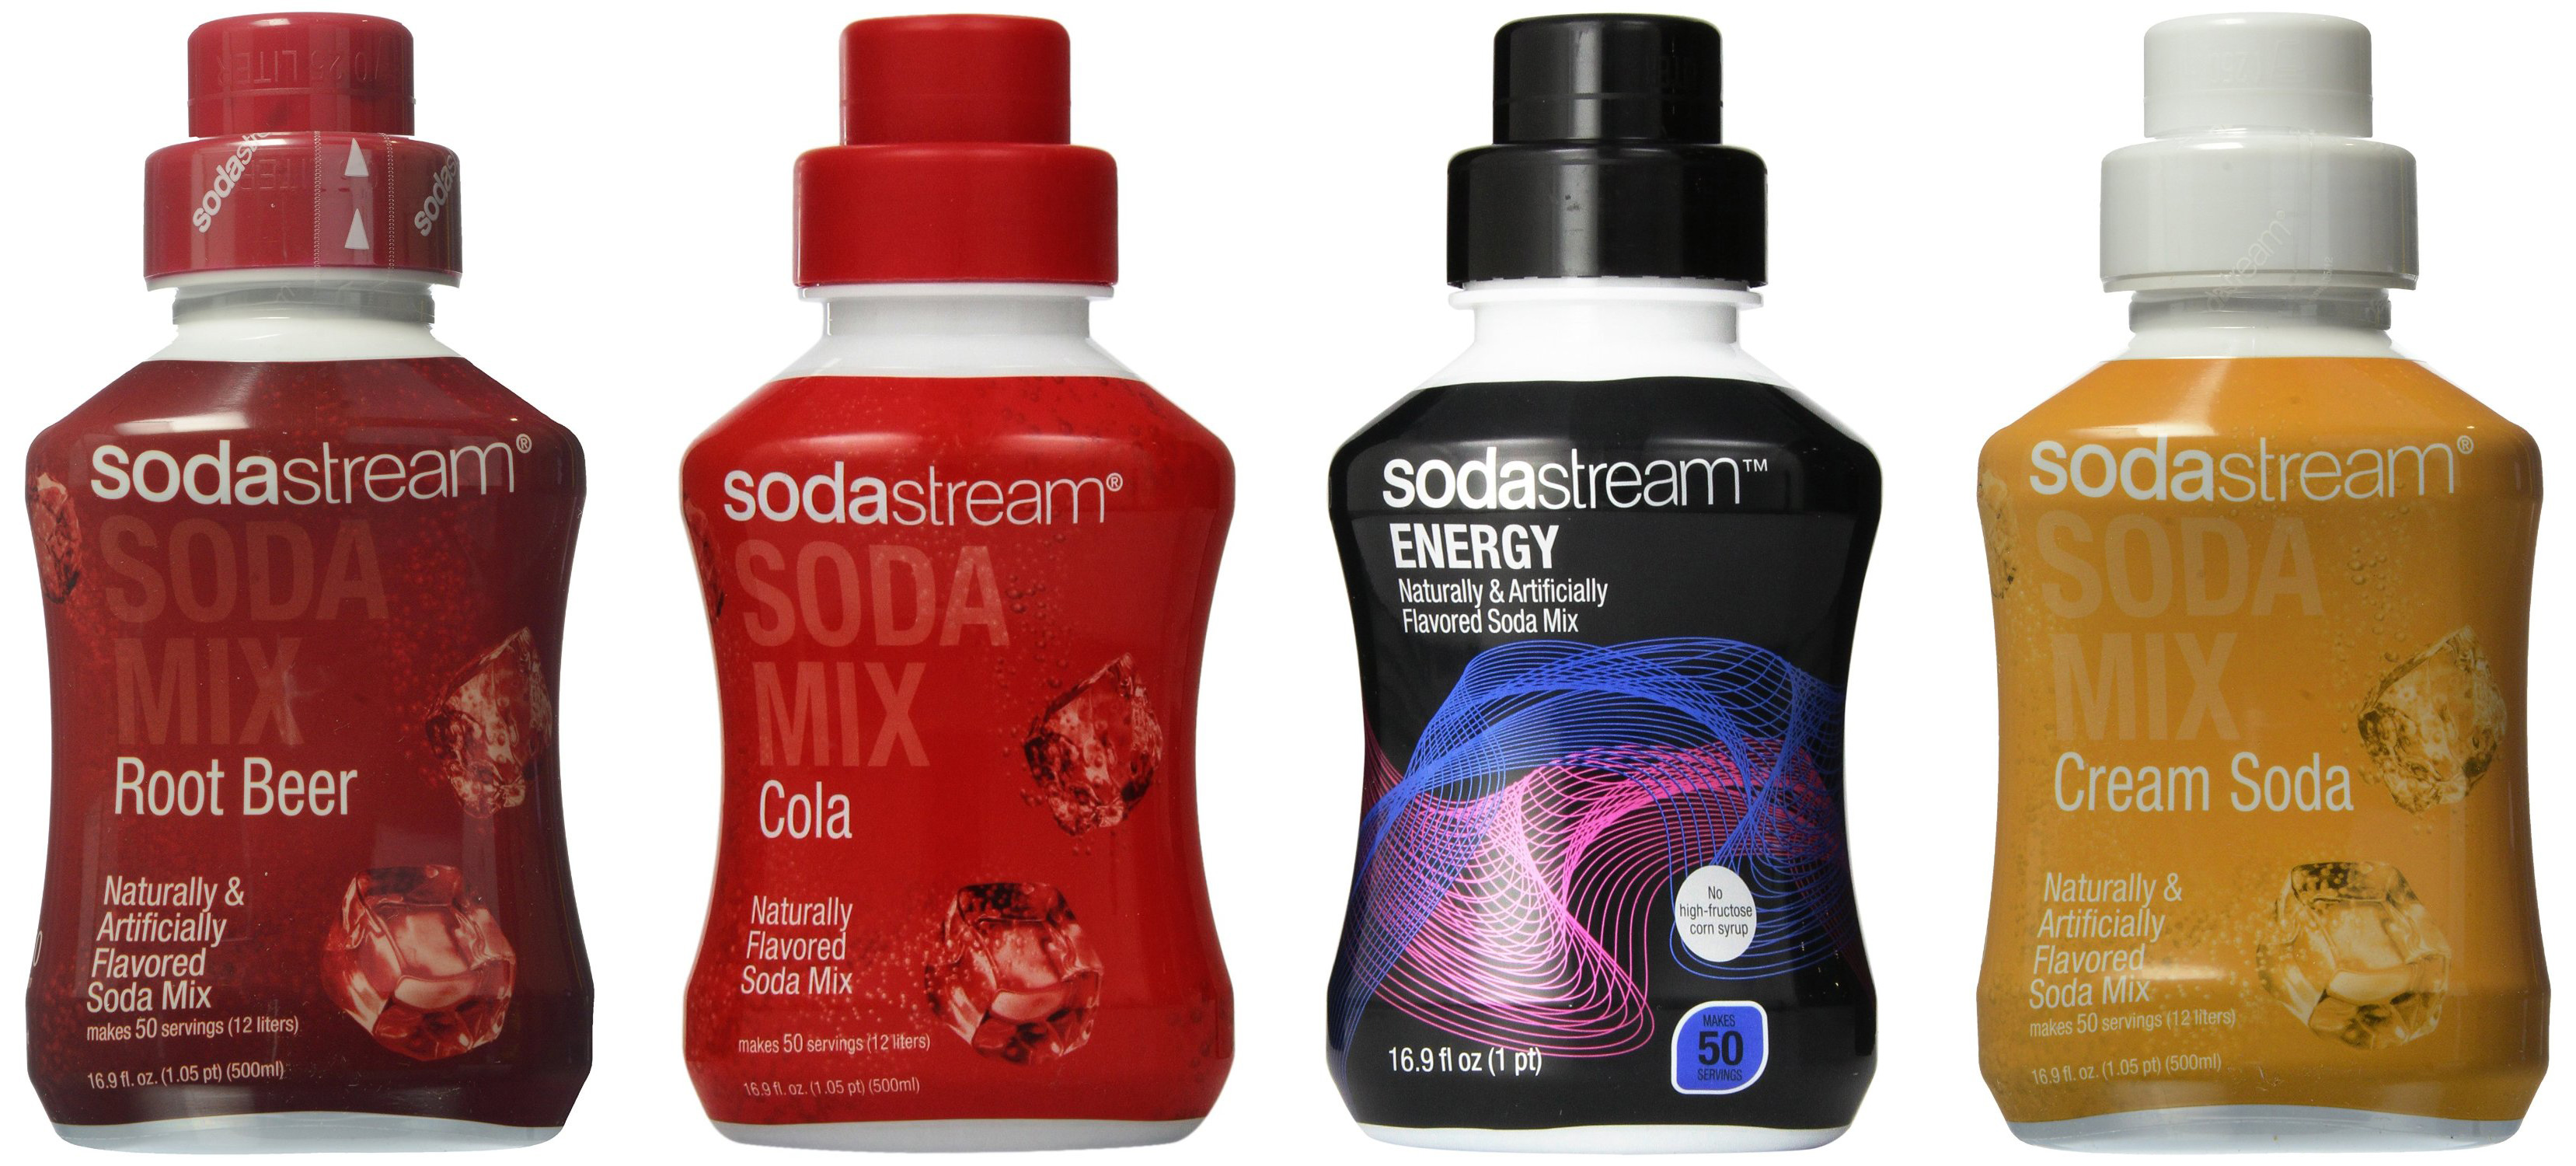
The process of carbonating a liquid is extremely simple: pour liquid into a shatter-proof vessel, tightly seal the vessel, add carbon dioxide gas, and — if necessary — shake the vessel to mix the gas and liquid together. Do this with water and you’ll get club soda; add quinine and citrus and you get tonic water; add syrup and you’ll get a soft drink. There are now tons of different syrup flavors, including colas, cream soda, ginger ale, and many different fruits, typically made using sugar rather than the high-fructose corn syrups commonly found in bottled sodas.
Flavors are obviously very important, but so is the distribution of carbon dioxide within the vessel: if the gas isn’t properly mixed with the liquid, the fizziness will all rush out at once — either directly out of the bottle, or when the liquid goes into a glass. It helps if the carbonation tool really pushes the carbon dioxide down into the bottom of the vessel, which some devices do better than others. But helping the liquid absorb easily — by chilling it, and without adding thickening agents before carbonation — also will improve the quality of the carbonation.
Fizzy drinks are probably the best-known application of carbonation, but there are at least two ways carbonation can be added to food. One is a modernist trick that uses soda siphons to carbonate fruit. The other is to incorporate popping candy — popularly known as Pop Rocks — to add unexpected energy to candies, pastries, and sorbets.
SodaStream: Your Best Choice For Beverage Carbonation At Home
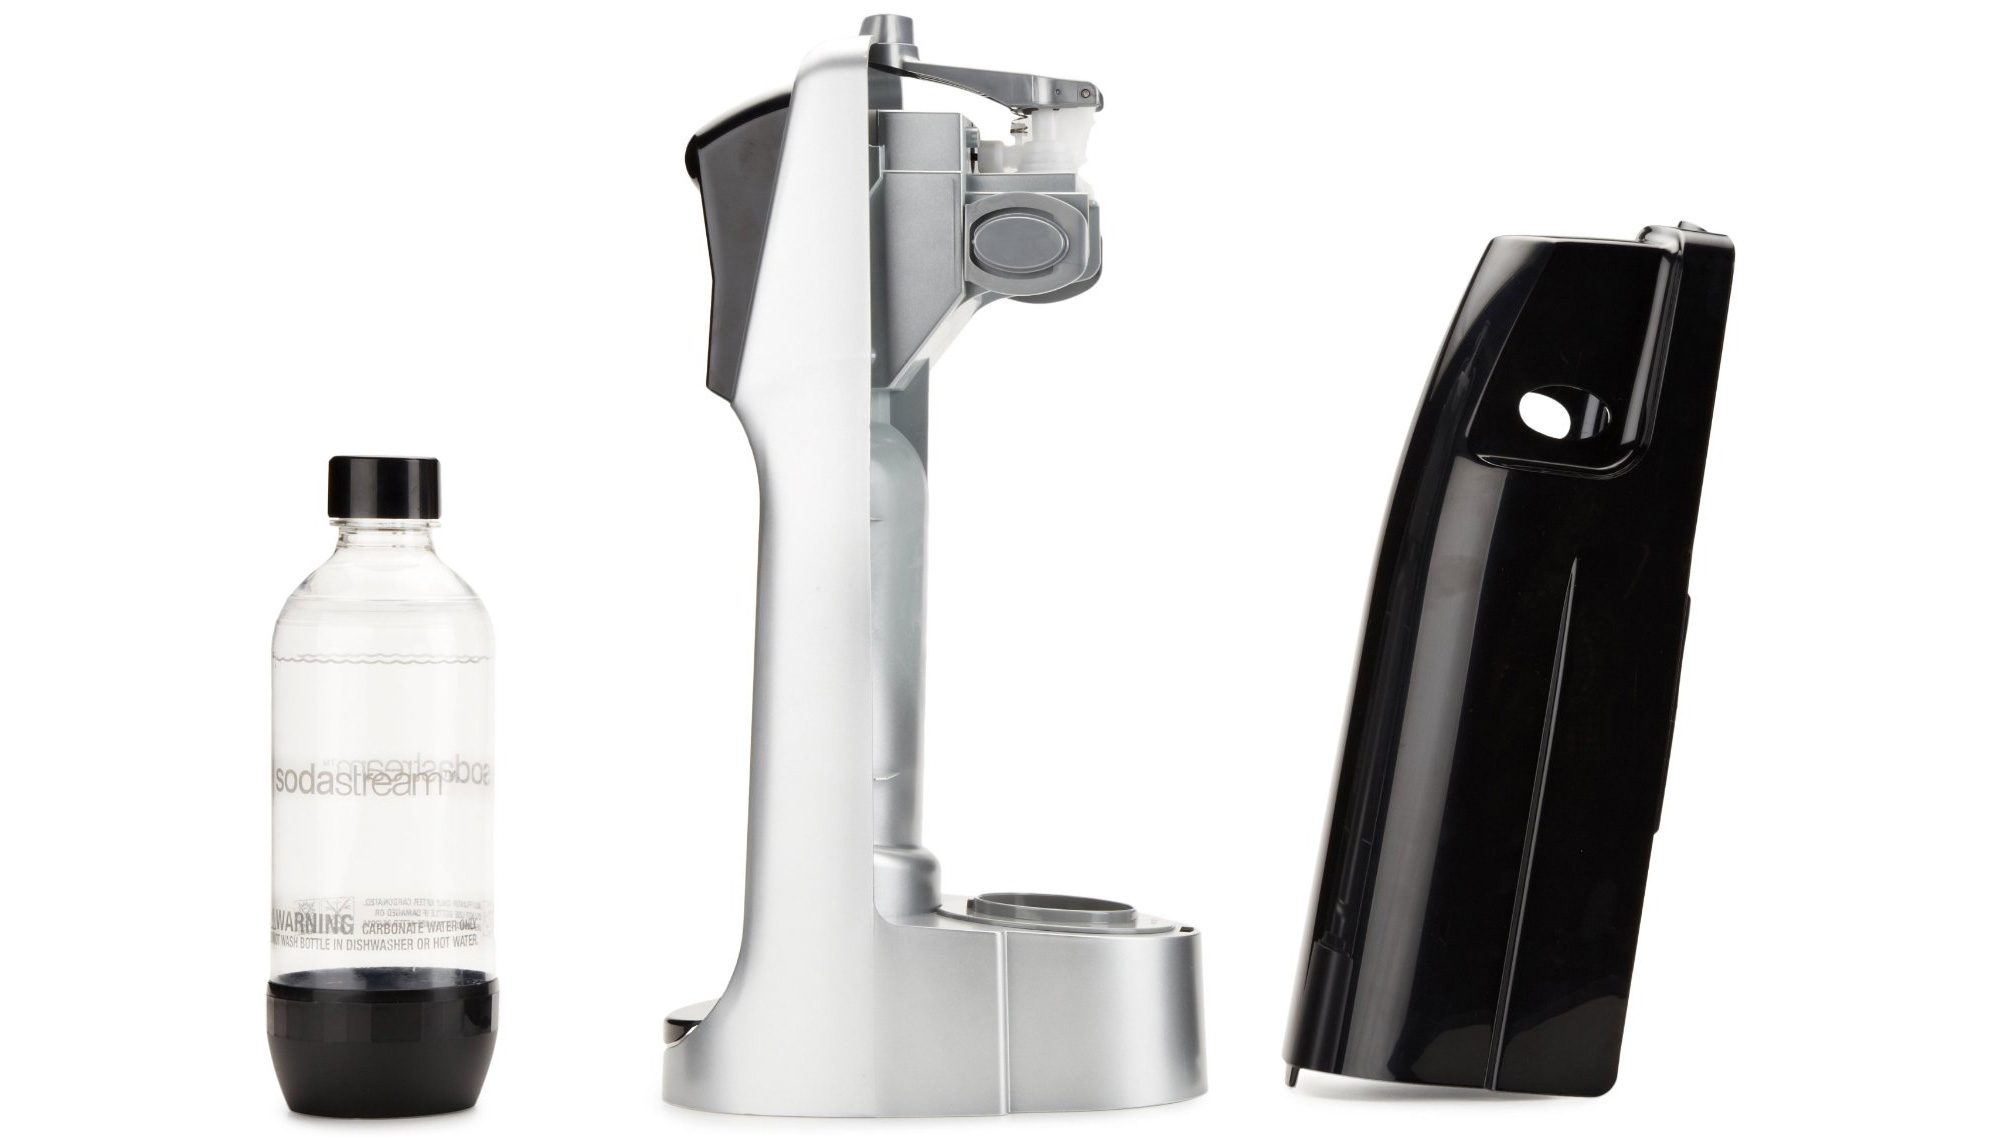
Experts agree: SodaStream’s home carbonation systems are the best way to carbonate your own soda water and soft drinks. They’re extremely easy to use, aggressively push the CO2 down to the bottom of bottles, and give you full control over the amount of gas to add to your liquid. Because of their increasing popularity, it’s easy to find SodaStream CO2 canisters in stores, and the prices for both the canisters and SodaStream units are cheap.
The most popular SodaStream is the Fountain Jet ($70, reg. $100), which is currently the #1 best-selling soda maker at Amazon. It includes the SodaStream unit, a single 1-liter water bottle, a 6-flavor sampler pack, a starter 6-liter carbonator, and a coupon for a free 60-liter carbonator.
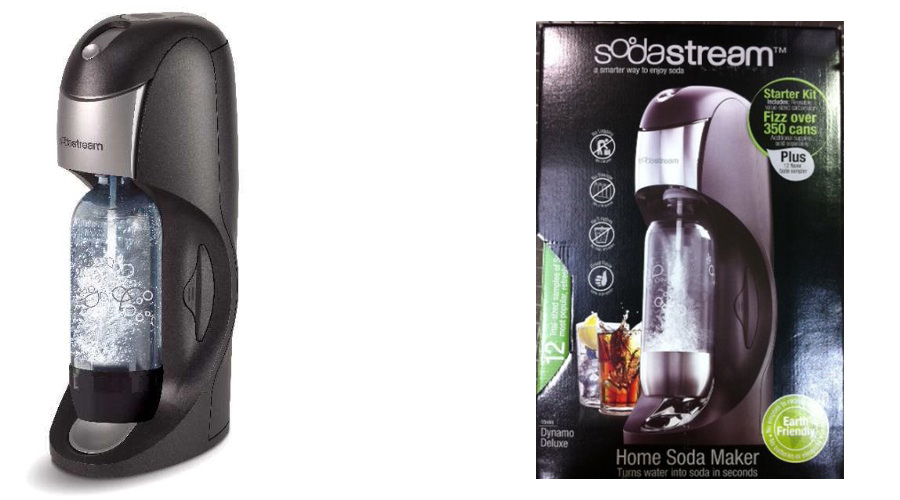
However, for only $10 more, SodaStream’s Dynamo LX ($80, reg. $150) has a higher user rating of 4.2/5 stars with over 460 ratings. Part of the reason for the higher rating: it comes with two 1-liter water bottles, a 130-liter carbonator, and a 12-flavor sampler pack, a better value. This is the model I own and use; you simply pop off the back, screw the included carbonator into place, replace the back, and screw a bottle full of water in on the front. Three quick pumps of CO2 later, and your bottle is perfectly carbonated — better than with the soda siphons below.

If you want to go deluxe, you can choose between improved looks or improved functionality. SodaStream’s Crystal ($180, above left) uses a 1-liter glass bottle rather than plastic, looks fancier, and comes with a 60-liter carbonator. Alternately, the SodaStream Revolution ($180, above right) has a digital screen and four buttons that automatically adjust the level of carbonation for you. You get a single 1-liter water bottle, a 60-liter carbonator, and a 12-flavor sampler in the package. Additional 1-liter bottles can be purchased in two-packs here.
Carbonating With iSi’s Soda Siphon or Gourmet Whip
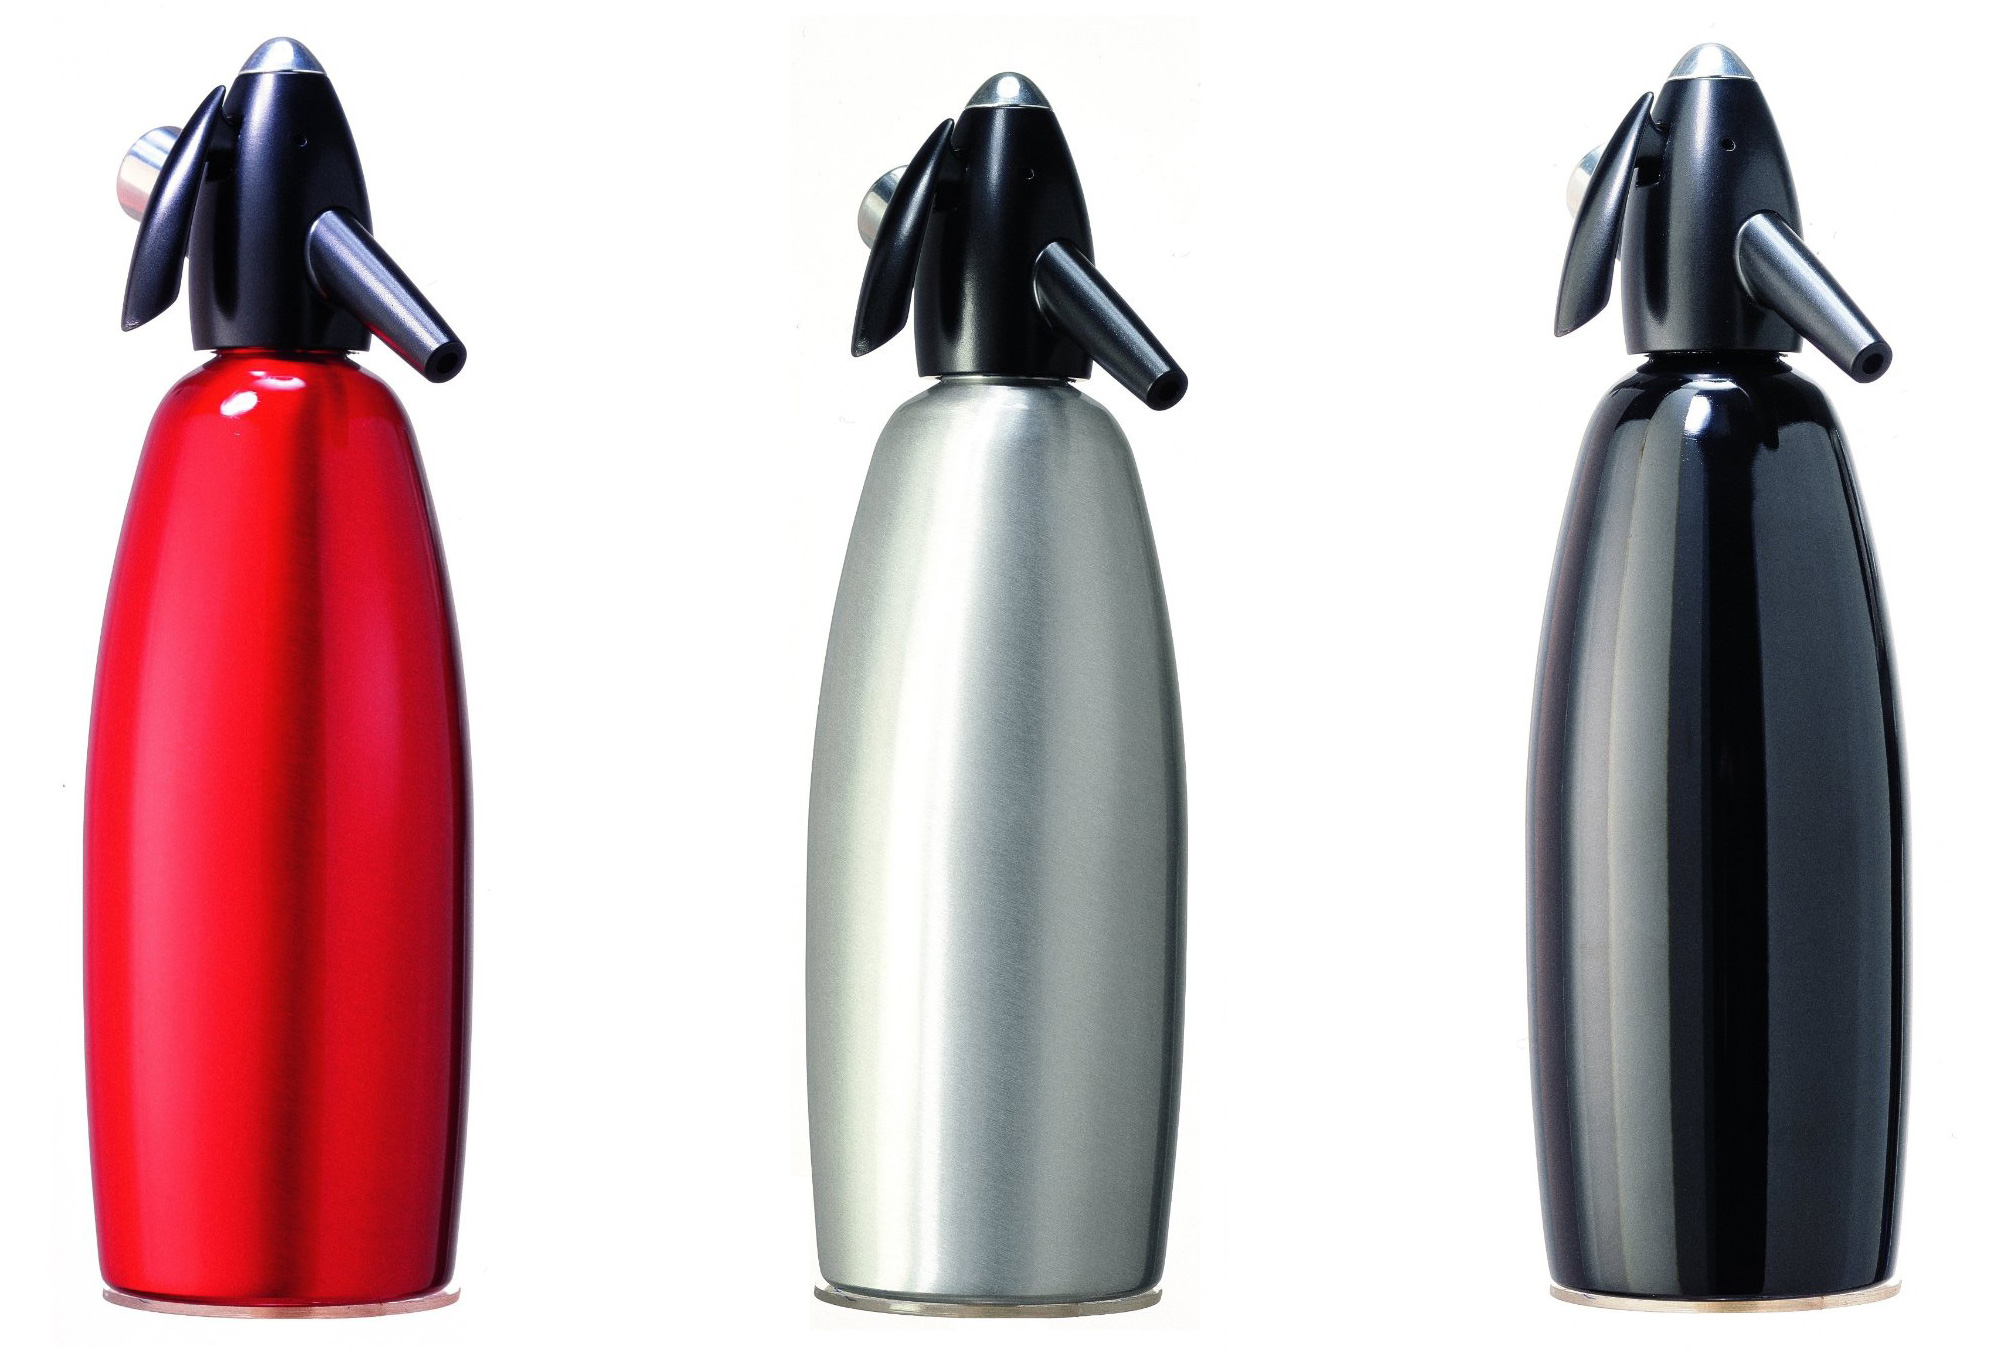
As it turns out, carbonation isn’t just for beverages: for the last eight or ten years, avant garde chefs have been using tools made by Germany’s iSi to carbonate fruit (see some recipes here). The most basic such tool is iSi’s Soda Siphon, which is available in your choice of aluminum or stainless steel. Unlike SodaStreams, there’s no additional hardware here: you get a metal vessel that seals tightly, using 8-gram CO2 chargers to carbonate a liter of liquid. The chargers are typically 50 cents each.
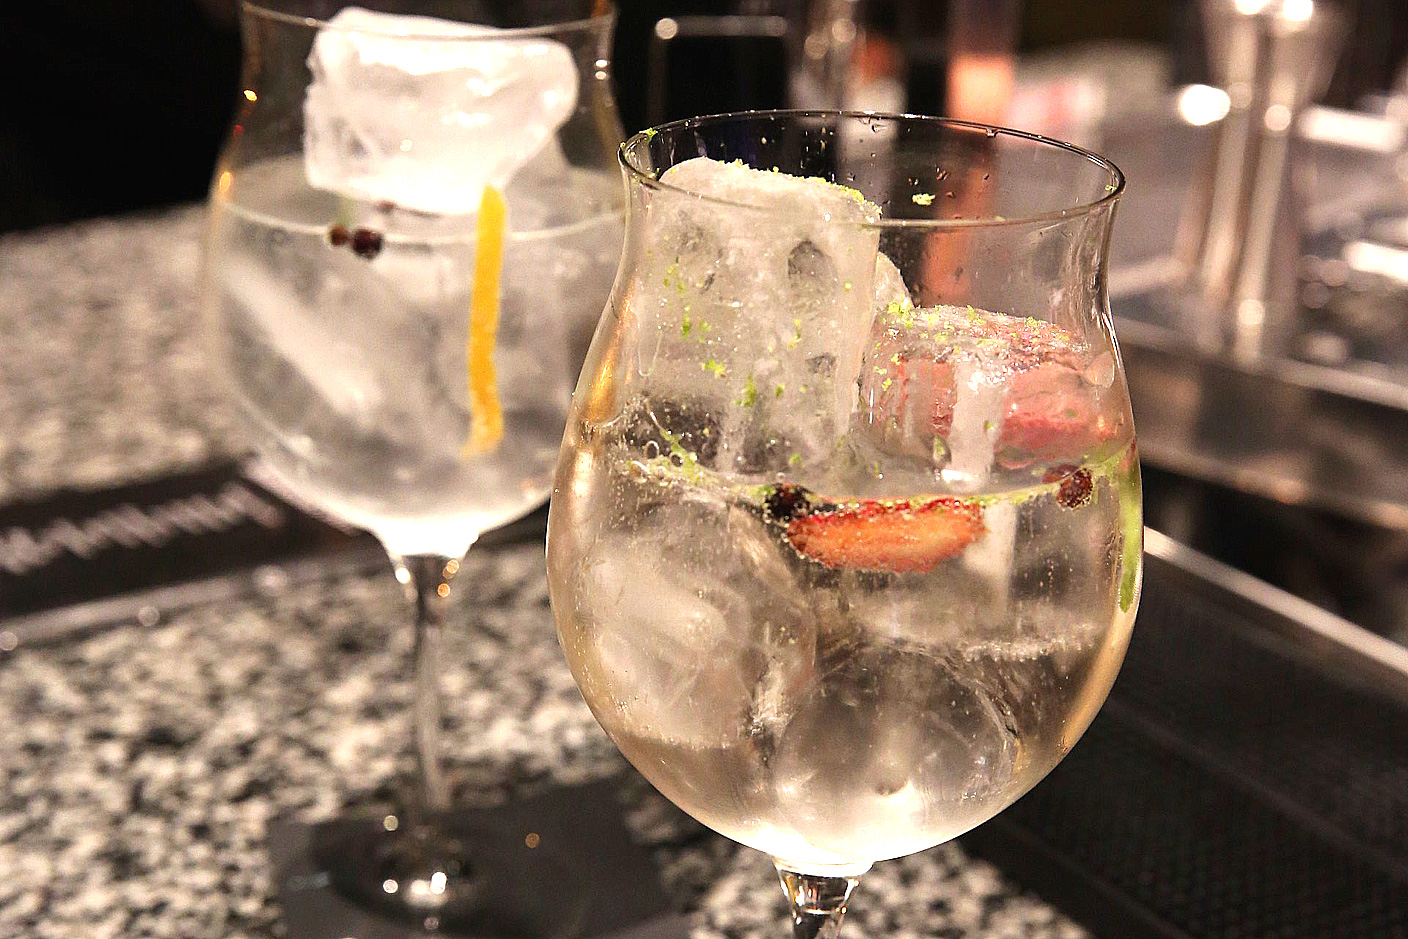
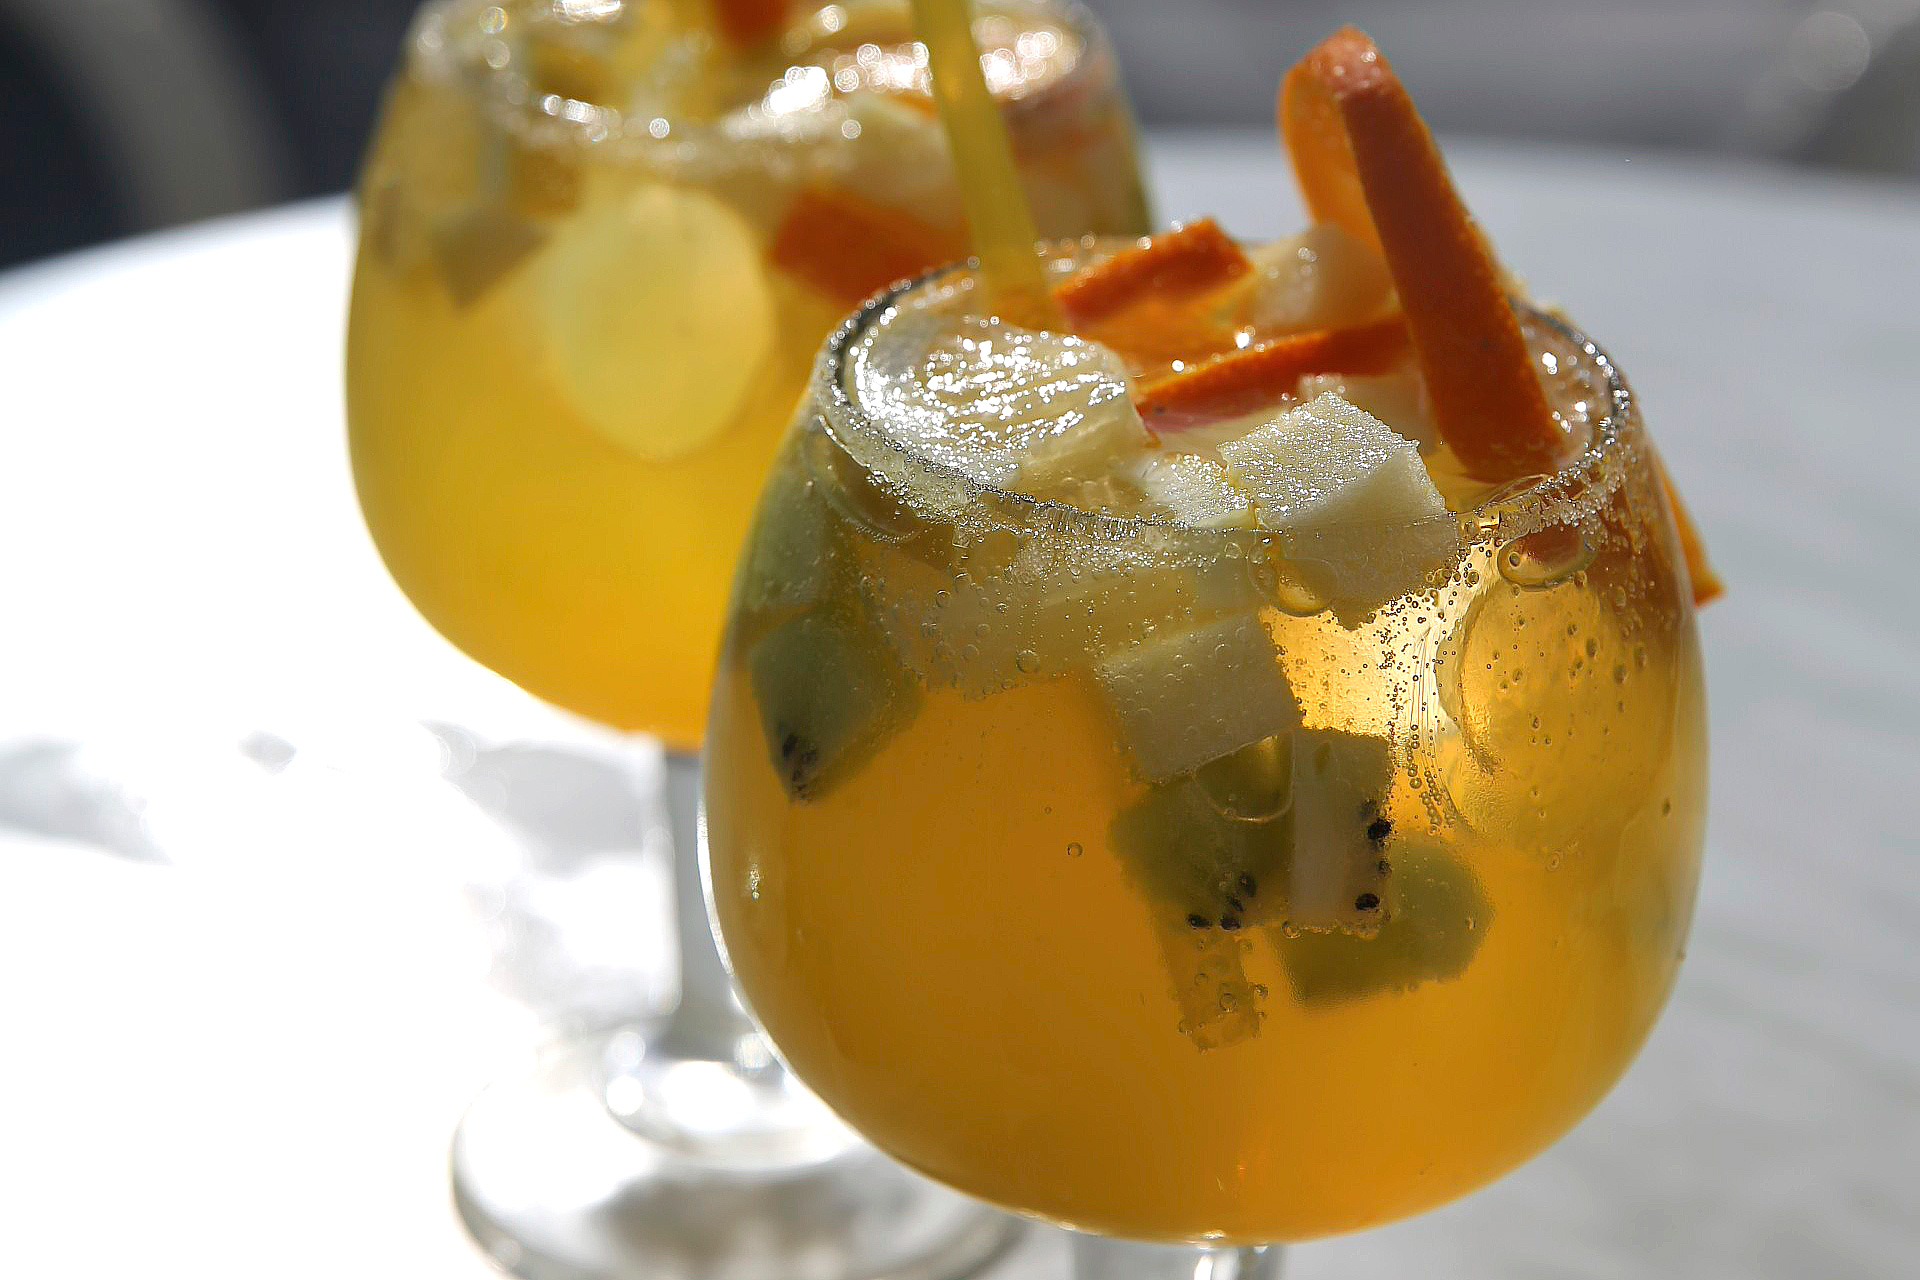
I’ll tell you up front based on using an iSi Soda Siphon that this isn’t the easiest or best choice for pure beverage applications, which is why I instead recommend the SodaStreams above. But iSi’s tools are top choices for carbonating fruit, enabling you to make grapes taste like champagne, cherries fizz like Cherry Coke, and orange slices taste like solid orange soda. All you have to do is slice the fruit into small pieces (including half-grapes and half-cherries), drop the pieces into an iSi Soda Siphon, charge the sealed siphon with a capsule, then refrigerate it overnight. After releasing the pressure, you’ll have 15 minutes to enjoy the carbonated fruit, which is more than enough time to present this culinary magic trick — unlike a glass of soda, the lucky recipient will definitely remember the first time they experienced this form of carbonation.

The easiest way to carbonate fruit is with this 1-liter, aluminum version of the Soda Siphon ($37, reg. $50), plus a starter set of 40 Leland-branded Mr. Fizz seltzer chargers. The total cost is reasonable for this particular application, and you can always use the Siphon to make sodas if you get tired of fizzy fruits.
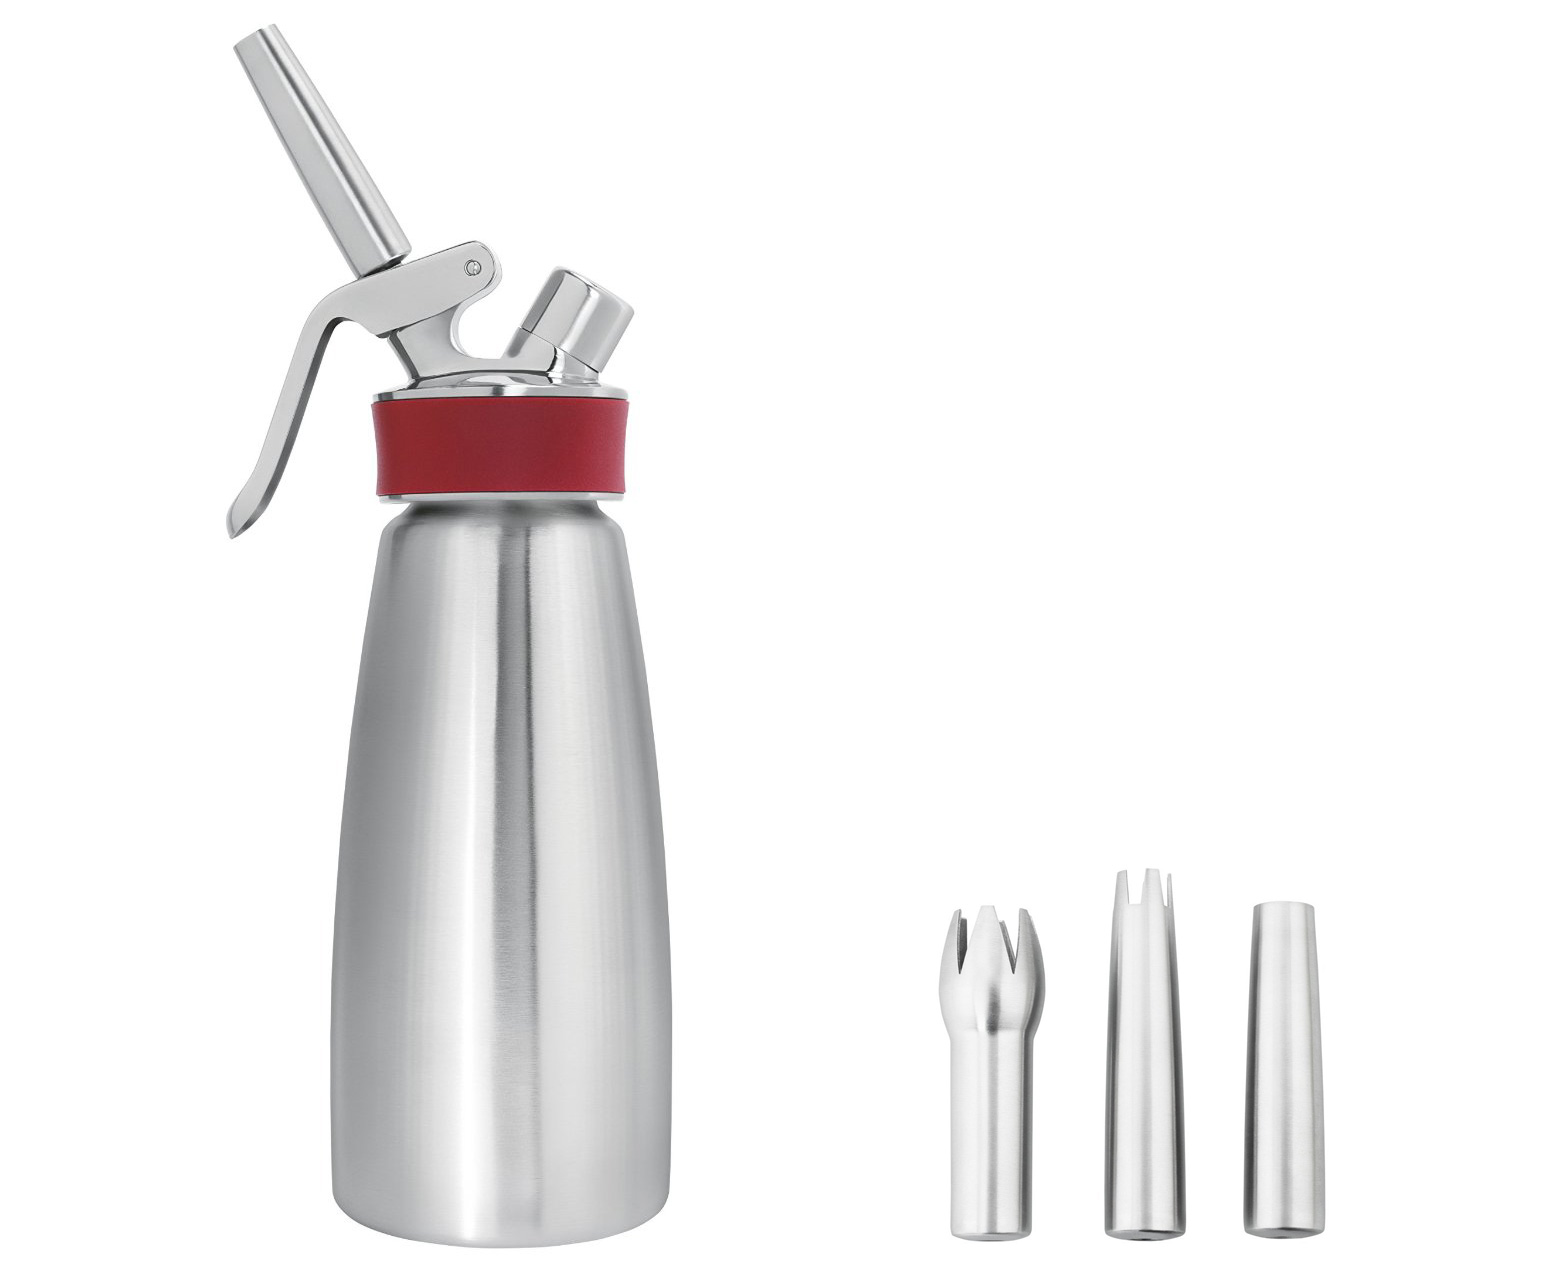
But my advice would be to go a step further. Follow the advice of numerous chefs and modernist cookbooks, and invest in iSi’s nicer Gourmet Whip Plus ($88, reg. $188). It can do everything the Soda Siphon can, but also has fantastic applications for food, including making ethereal pancakes, flavored whipped creams, and rapid infusions. The standard 1-pint version has around half the liquid capacity of the Soda Siphon, but works really well for small portions of food; pick this 1-quart version if you’re willing to spend the extra cash. To carbonate using the Gourmet Whip, you’ll need only the same 50-cent CO2 chargers mentioned above, but for other applications, you’ll need nitrous oxide (N2O) capsules that go for 60-90 cents each. When buying nitrous oxide, I’d recommend going with iSi’s official N2O chargers; some of the alternatives out there aren’t food safe.
Carbonating With Pop Rocks
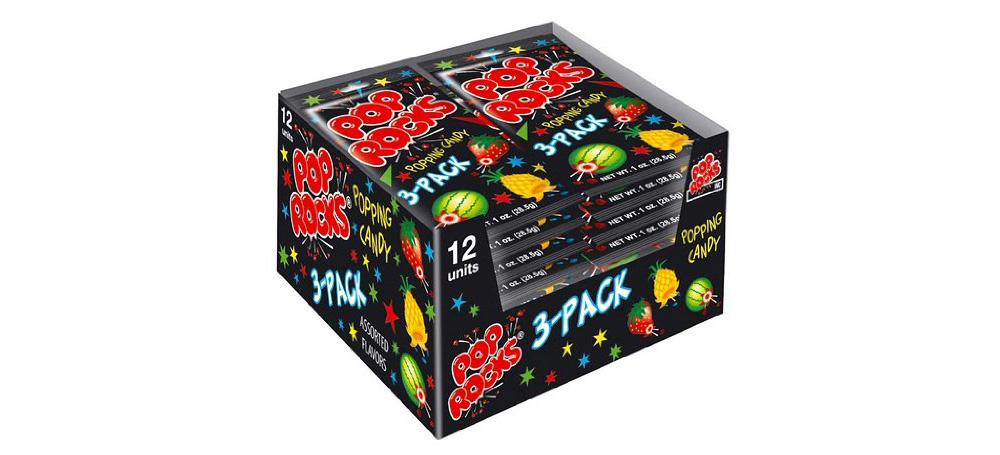
The last trick in today’s collection is the least expensive, but also the one that may require the most labor to produce a great result. Carbonated candy was originally developed by American chemist William Mitchell in 1956 as a way to produce instant soft drinks by mixing water with flavored, carbonated sugar. It didn’t work as intended, and the invention was shelved for two decades. But Kraft Foods and Spanish company Zeta Espacial released a reformulated version as “Pop Rocks,” which became a hit candy during the 1980s. Zeta now owns Pop Rocks and sells them in most of the world.

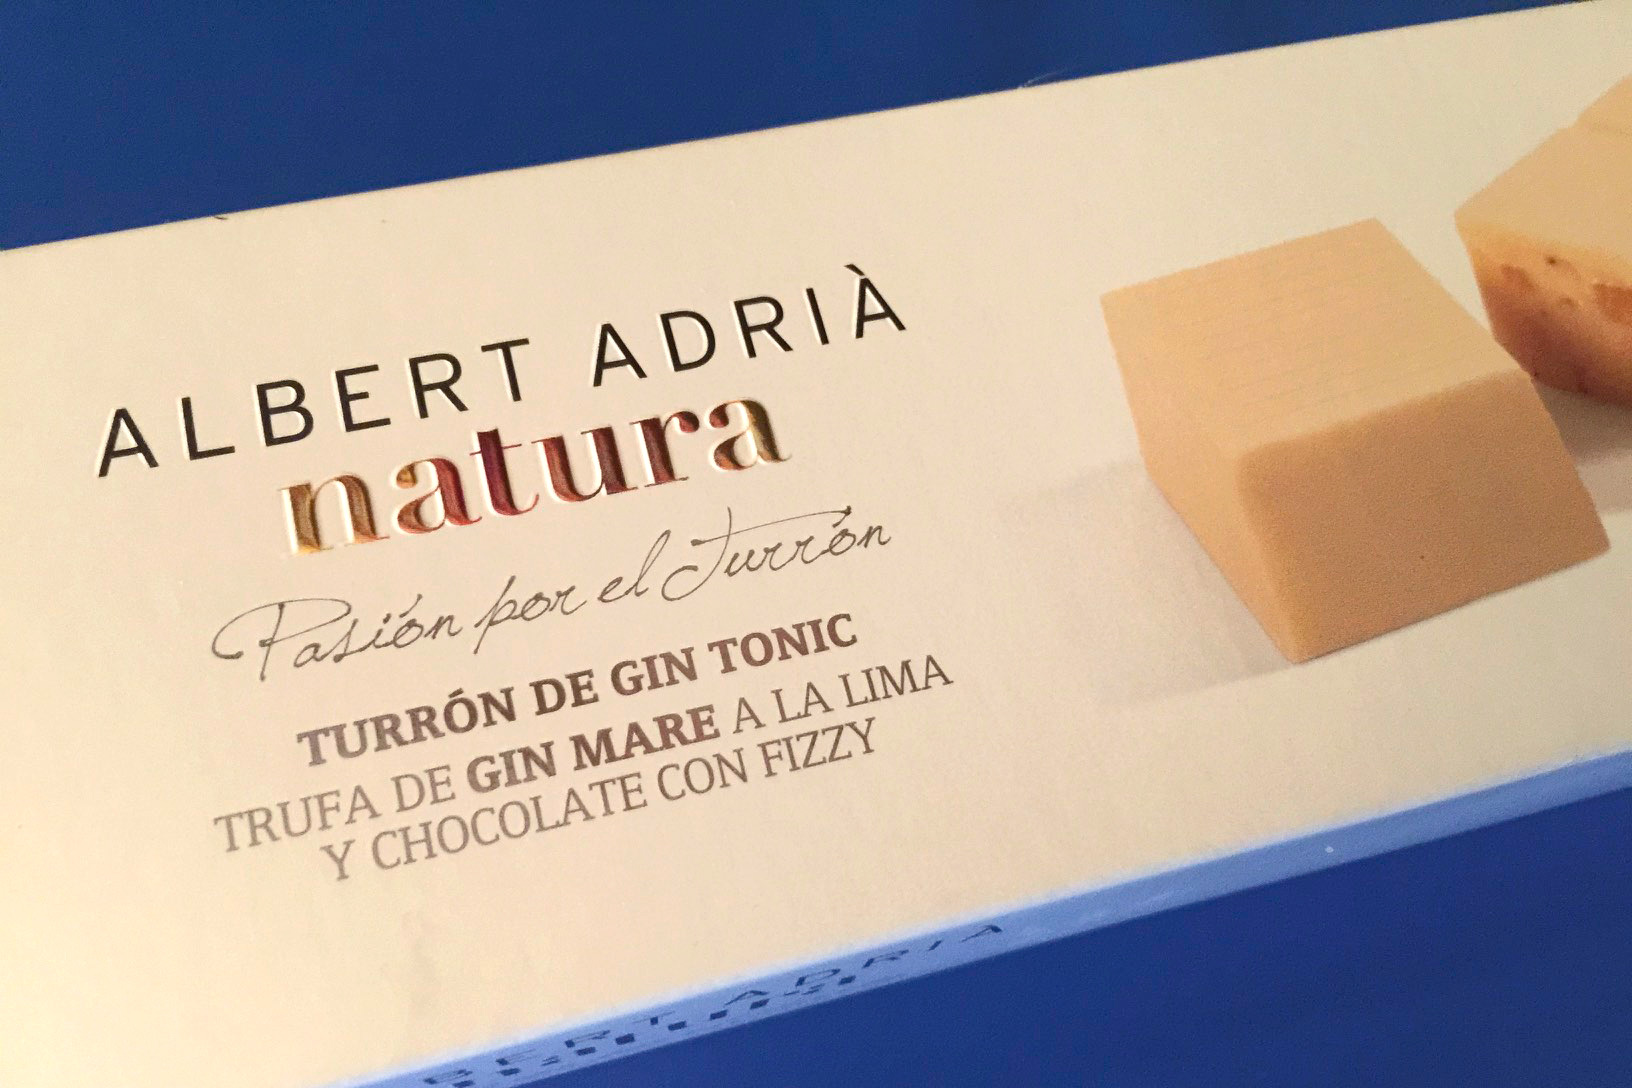
Modernist chefs including Albert Adrià, José Andrés, Oriol Balaguer, and Heston Blumenthal have released desserts with popping candy inside: Adrià’s solid Turrón de Gin Tonic used them to create the fizziness of tonic water, Andrés’s Jaleo restaurants offer Chef Rick Billings’ amazing Gin & Tonic Sorbet (above) with a citrus popping candy trick, Balaguer sells popping chocolate truffles, and Blumenthal created an exploding chocolate gateau. You can use popping candy in solid chocolates, but if you pick a recipe that includes a familiar, soda-like flavor in a soft filling, the effect will be more magical.
To make a dessert with popping candy, you can add Pop Rocks ($19 for 15 packs) as an ingredient — assuming you can find the right flavor in a tiny candy package — or use neutrally-flavored popping candy ($10 for 4 oz). Any time you open a package, you’ll need to make sure the unused/remaining candy stays dry, or else it’ll become hard to use as an ingredient. In other words, don’t buy a large canister without having a very specific near-term use in mind.
The key to using popping candy in a dessert is to let its inclusion be a surprise. When it sneaks up on you, it’s the sort of treat that will make an adult giggle like a kid, and if you get the flavor right, one portion definitely won’t be enough.
Read More Kitchen Tech
9to5Toys readers have told us that they’ve “thoroughly enjoyed” Kitchen Tech, praising it as “very well written” with “great” book recommendations. Here’s what I’ve covered in past weeks.
Column 1: Learn how to up your drinking game with magical ice ball makers, which transform everyday drinks into classics – recently updated with a great affordable pick!
Column 2: Radically improve meats, poultry, and fish with Sous Vide water baths, which turn plain pieces of meat into succulent, restaurant-caliber steaks, ribs, and more.
Column 3: Learn about avant garde cooking with incredible modernist cookbooks, which bring professional, modern recipes and techniques home.
Column 4: Explore part one of the world of bar tools, starting with fundamental items needed for preparing cocktails, then continuing with “good idea” tools that will make your drinks even cooler.
Column 5: Part two of the world of bar tools, including the “fancy stuff” that makes restaurant-caliber cocktails possible.
Column 6: Chemex’s new Ottomatic pour-over coffee machine, Wilfa’s Precision Coffee Maker, and the world of premium coffee makers.
Column 7: Explore home- and restaurant-caliber wine and champagne tools, including the Coravin wine preservation system and much more.
Column 8: Create restaurant-caliber rotisserie beef, pork, and poultry with the Showtime Rotisserie Oven, one of my favorite easy-to-use home cooking tools.
Column 9: Use a pressure cooker to create incredible fried chicken, sandwiches, crisped meats, soft beans, and rice in record time.
Column 10: Puree fruits, vegetables, and nuts into silky smooth smoothies and soups with a Vitamix blender, and create foamy cocktails with a hand immersion blender.
Column 11: Learn how to use spherification to turn fruit juices, vegetables, cheeses, and cocktails into burst-in-your-mouth balls of liquid caviar.
FTC: We use income earning auto affiliate links. More.
A DIY carbonation system is easy to make, is much cheaper in the long run (the CO2 refills are cheaper), and does a better job of carbonating. About $130 to get started, with all the parts available from Amazon: http://www.seriouseats.com/2014/06/pros-cons-diy-carbonation-rig-how-to-carbonate-cocktails-at-home-equipment-how-to-build-cheaper-sodastream-replacement.html
I love Serious Eats, but the article’s premise is to hack together a bunch of parts yourself for $130 (rather than spending $37 for an iSi Soda Siphon or $70 on a SodaStream) so you can save 25 cents per CO2 cartridge using paintball gun tanks. Versus the iSi, it would take 3 or 4 years to break even since you’d need to buy the equivalent of hundreds of cartridges, each for a liter of soda. Most people would find it a lot easier just to take one of the recommended, completely assembled systems out of a box and start using it.