While working on a project recently, I found myself looking at an image with lots of red in it and thinking something looks off. After realizing that when I changed GPUs my color profile in Windows was reset, I reached for the latest SpyderX Elite as a part of the SpyderX Capture Pro Kit. Aimed at professionals working in print, photography, and video, the Datacolor SpyderX line-up helps to ensure that displays are accurate when it comes to color. After calibrating my Dark Matter 49-inch display, I was pretty shocked at how much of a difference it made. Be sure to hit the video below to see all of the details.
What does the SpyderX Elite color calibration do?
In its most basic form, the SpyderX Elite from Datacolor uses sensors to take lighting readings from the room as well as the color and brightness that a monitor is able to produce. It uses then uses those readings to create a profile that gets it more accurate matches printed materials. For me in practice, it made a huge difference in the oversaturation of reds that my monitor was showing. When comparing the calibrated and uncalibrated views, the difference was quite striking.
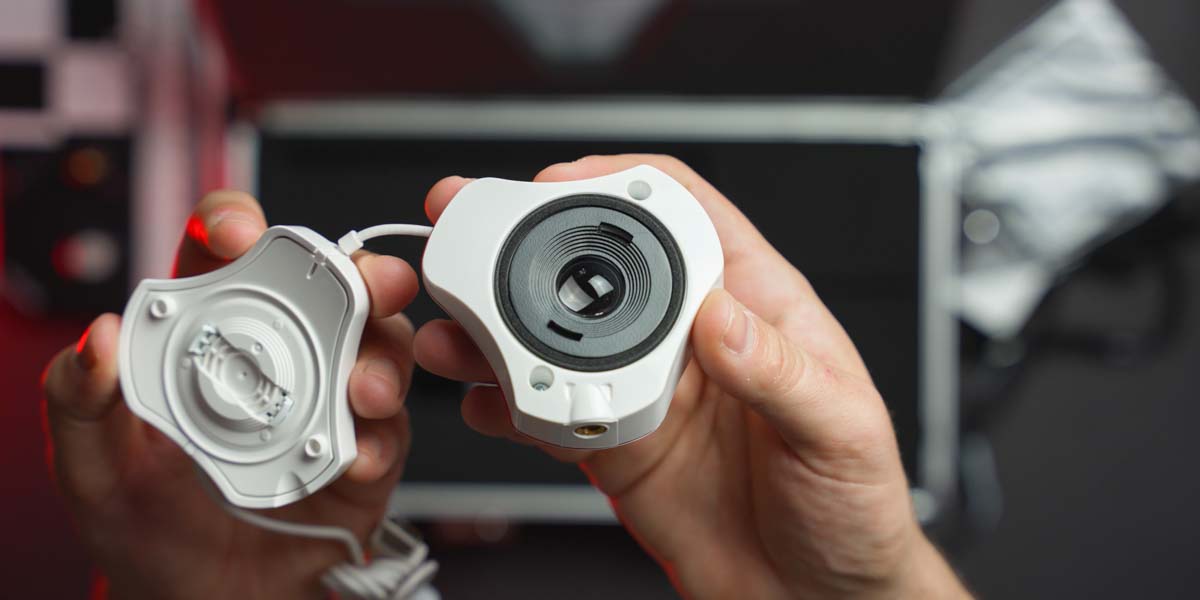
Out of the box
While I have the full Capture Pro Kit which includes the Spyder LensCal, Spyder Cube, and Spyder Checkr, I’ll only be using the SpyderX Elite to calibrate the monitor. We’ll take a look at the other components later on.
The software
First up, you will need Datacolor’s Spyder Elite software. Included in the kit was a card with codes to register the SpyderX Elite as well as the Spyder Checkr. I was able to use the same code and get the software on multiple computers.
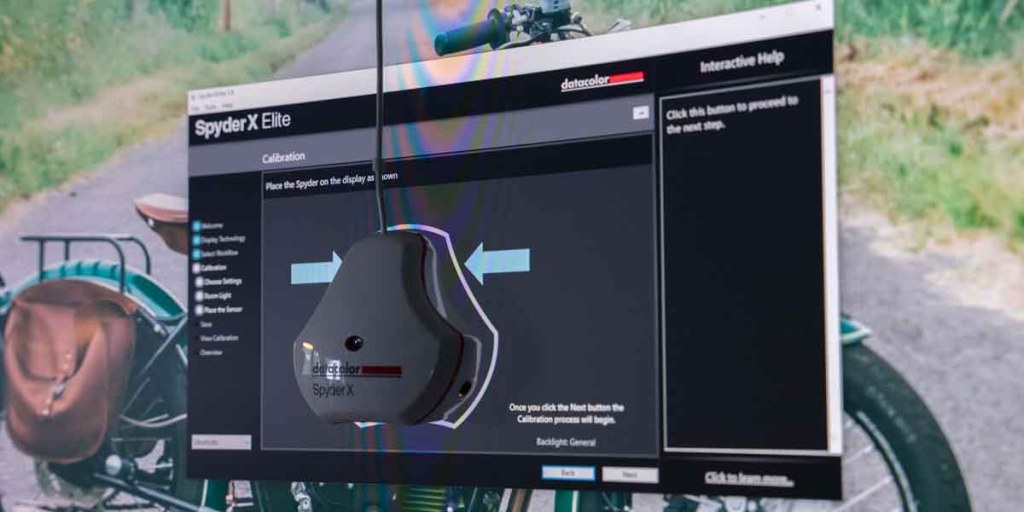
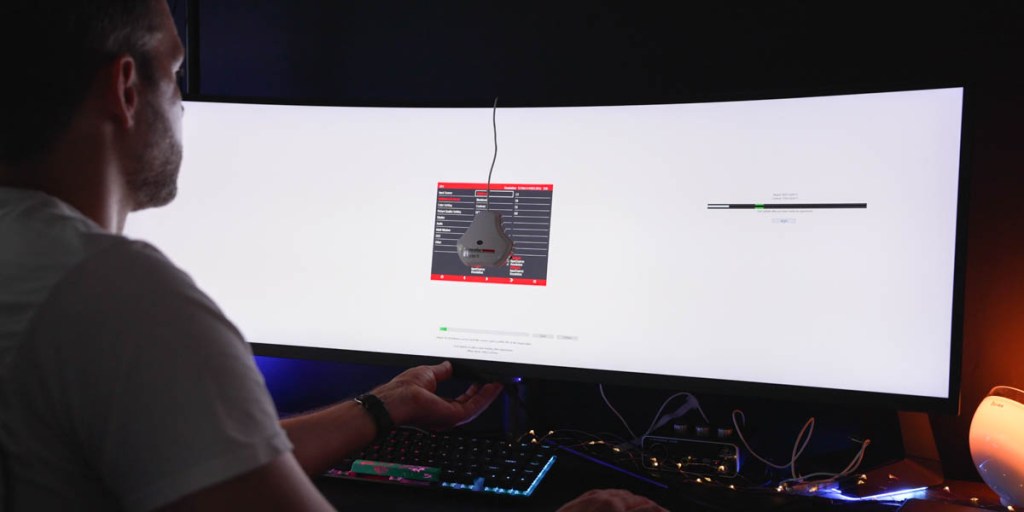
Once SpyderX Elite is installed, launching the software will take you through a setup tutorial that ensures the monitor is set for the best settings. First off, you’ll need to enter some information about your monitor, laptop, or projector. It can seem a little daunting to choose the correct settings if you don’t know much about your monitor, but there are helpful hints on the right side of the screen that help you make the best choices.
SpyderX Elite: Video
After entering some information about the display, the next step is to select a workflow. Datacolor offers a simple step-by-step assistant option that is the quickest mode, a studio match for ensuring color is matched between multiple displays, and an expert console that opens up more controls. Unless you need to fine-tune the display, the step-by-step assistant seems to be the best option for most.
Calibration settings
Moving into calibration settings, there are options for recalibrating the display, checking the accuracy, and doing a full calibration. I typically run the full calibration.
Next up are some targets that can be set for gamma, white point, and brightness. The only thing that was really surprising to me throughout this process was the recommended brightness. In the next step, the SpyderX Elite will measure the ambient light and suggest a brightness setting, but in almost every lighting scenario in my office, it was much darker than I expected. The suggested brightness is 120, but setting it any lower than 200 felt like a stretch to me.
To reach a brightness level of 200, I had to turn my monitor brightness down to 19 out of 100. I can see where it’s coming from for optimal settings, but I like having my windows open during the day and typically want to set my brightness higher because of that.
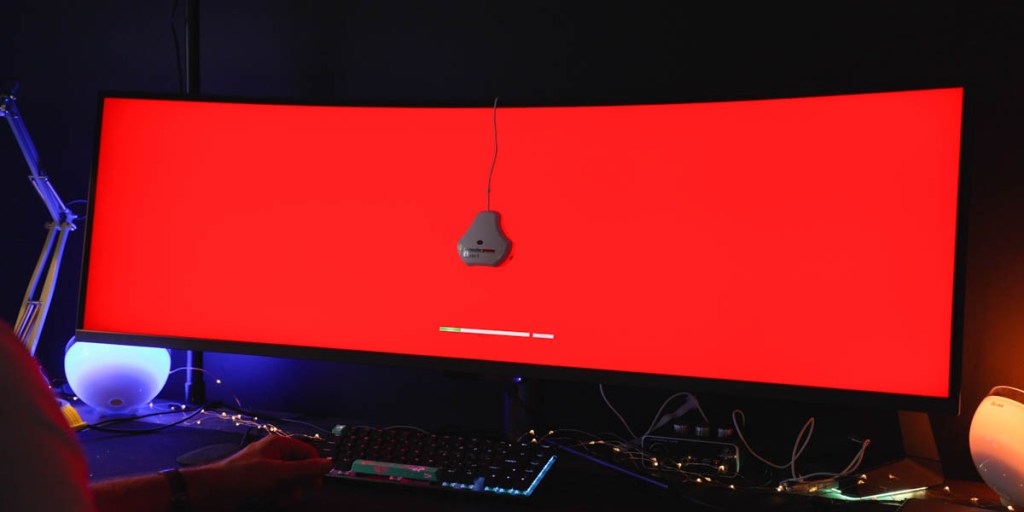
Once those targets are set, set the SpyderX Elite on the desk and it will take an ambient light reading for some suggested ratings. You can then follow the recommended settings or keep your own custom settings. After that, the software will prompt you to unclip the weight from the back of the color checker and hang the SpyderX Elite over the monitor so that it is centered for taking a light reading.
First, it will measure the brightness of your monitor and prompt you to use the physical controls on your display to dial it into the recommended settings. Once that is set, the software will run through more colors and brightness settings to create a color profile for the display that hits the brightness and white point targets.


How does it look?
Once complete, you can save the profile. Next up is a screen that shows the difference between the uncalibrated and calibrated settings which was pretty shocking in my experience. For my monitor, the whole image was oversaturated but the biggest difference was in the reds. While it may look good for watching media or playing games, oversaturated colors can really mess with your image when creating photos, videos, or other visual content.
For me, that oversaturation in reds messed with my eyes mainly on skin tones. The oversaturated reds made my face look more flushed than it usually does. The calibrated image looks much better for me when I am editing and matches more with what I’m thinking the image should look like based on the Lumetri scopes that monitor brightness and saturation within Adobe Premiere Pro.
9to5Toys’ Take
If you are a creator in photography, video, or image creation, calibrating your monitor makes a huge difference. Your eyes can be deceiving and monitors come in a wide variety of settings. If you spend more money on calibrated monitors with better color accuracy, it might not be that far off, but in my opinion, calibrating a monitor is pretty necessary and Datacolor makes it extremely easy to do.
If SpyderX Elite at $270 seems a bit steep, the SpyerX Pro, which is $100 cheaper and still offers easy-to-use monitor calibration, and is worth a look.
Buy SpyderX Elite
Buy SpyderX Capture Pro
FTC: We use income earning auto affiliate links. More.


Comments